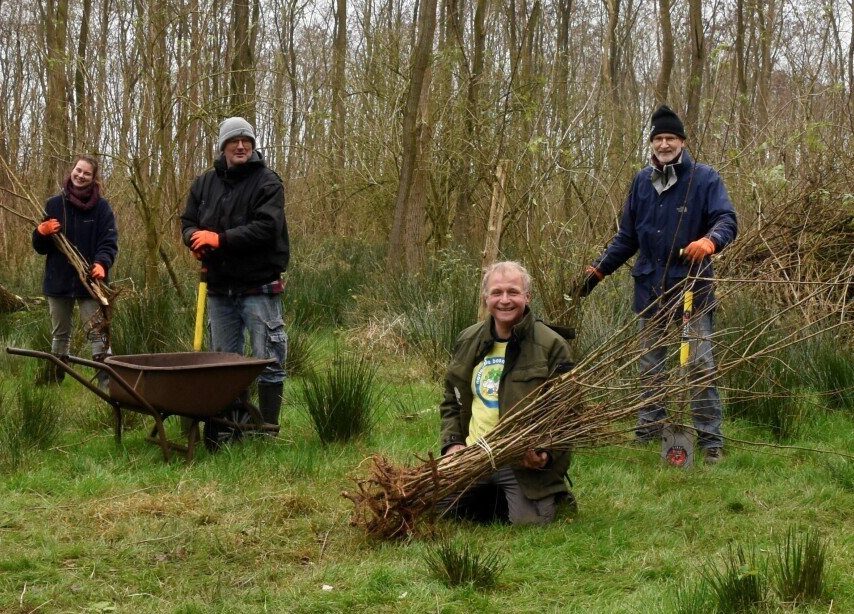
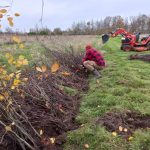
From Harvest Site to…?
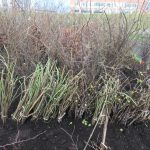
Once you’ve bundled and sorted all your little trees, they need to go somewhere.
Transport to a planting location
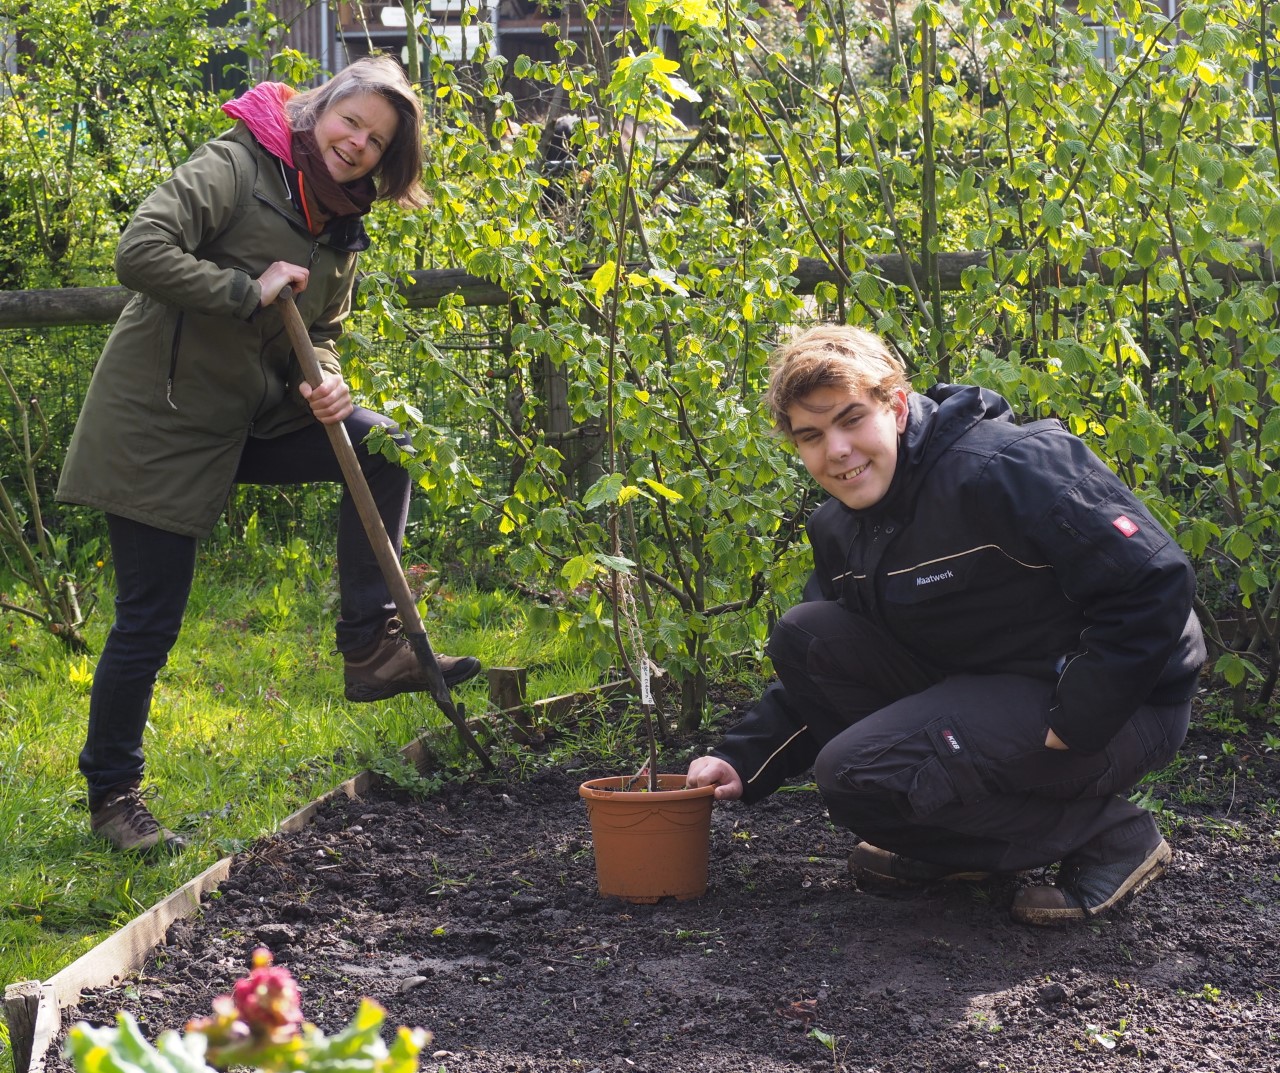
Planting locations can register for a harvest day in the Tree Planner. This ensures that as many trees and shrubs as possible are gathered immediately. It’s common for volunteers to also take a tree home.
Sometimes it is a few planting locations that show interest. Should you be in a position to give a lot of attention to your harvest day, for instance on social media, you may find that many planting locations appear at the end of the day. Consider the possibilities in advance. Planting locations can apply for a time slot in the last few hours of your harvest day, for which you can set a maximum number of collectors.
Occasionally, a few planting locations may express interest. If you’re able to promote your harvest day extensively, for example on social media, you might find that many planting locations turn up by the end of the day. Consider the options in advance. Planting locations can request a time slot in the final hours of your harvest day, for w
You can also reach out to them directly: in the Tree Planner, you can view all the planting locations in your area on the map. Select the largest ones and send them a message: would they be interested in taking all your harvest at once? This approach saves on transport and storage.
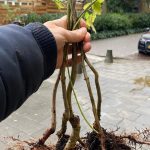
Please note: Be mindful of which sapling you distribute to planting locations. Avoid giving a sapling that could grow 30 metres tall to someone with a balcony. An average harvest day usually involves around 10 species, so a quick Google search will help you identify the types of trees you have on hand!
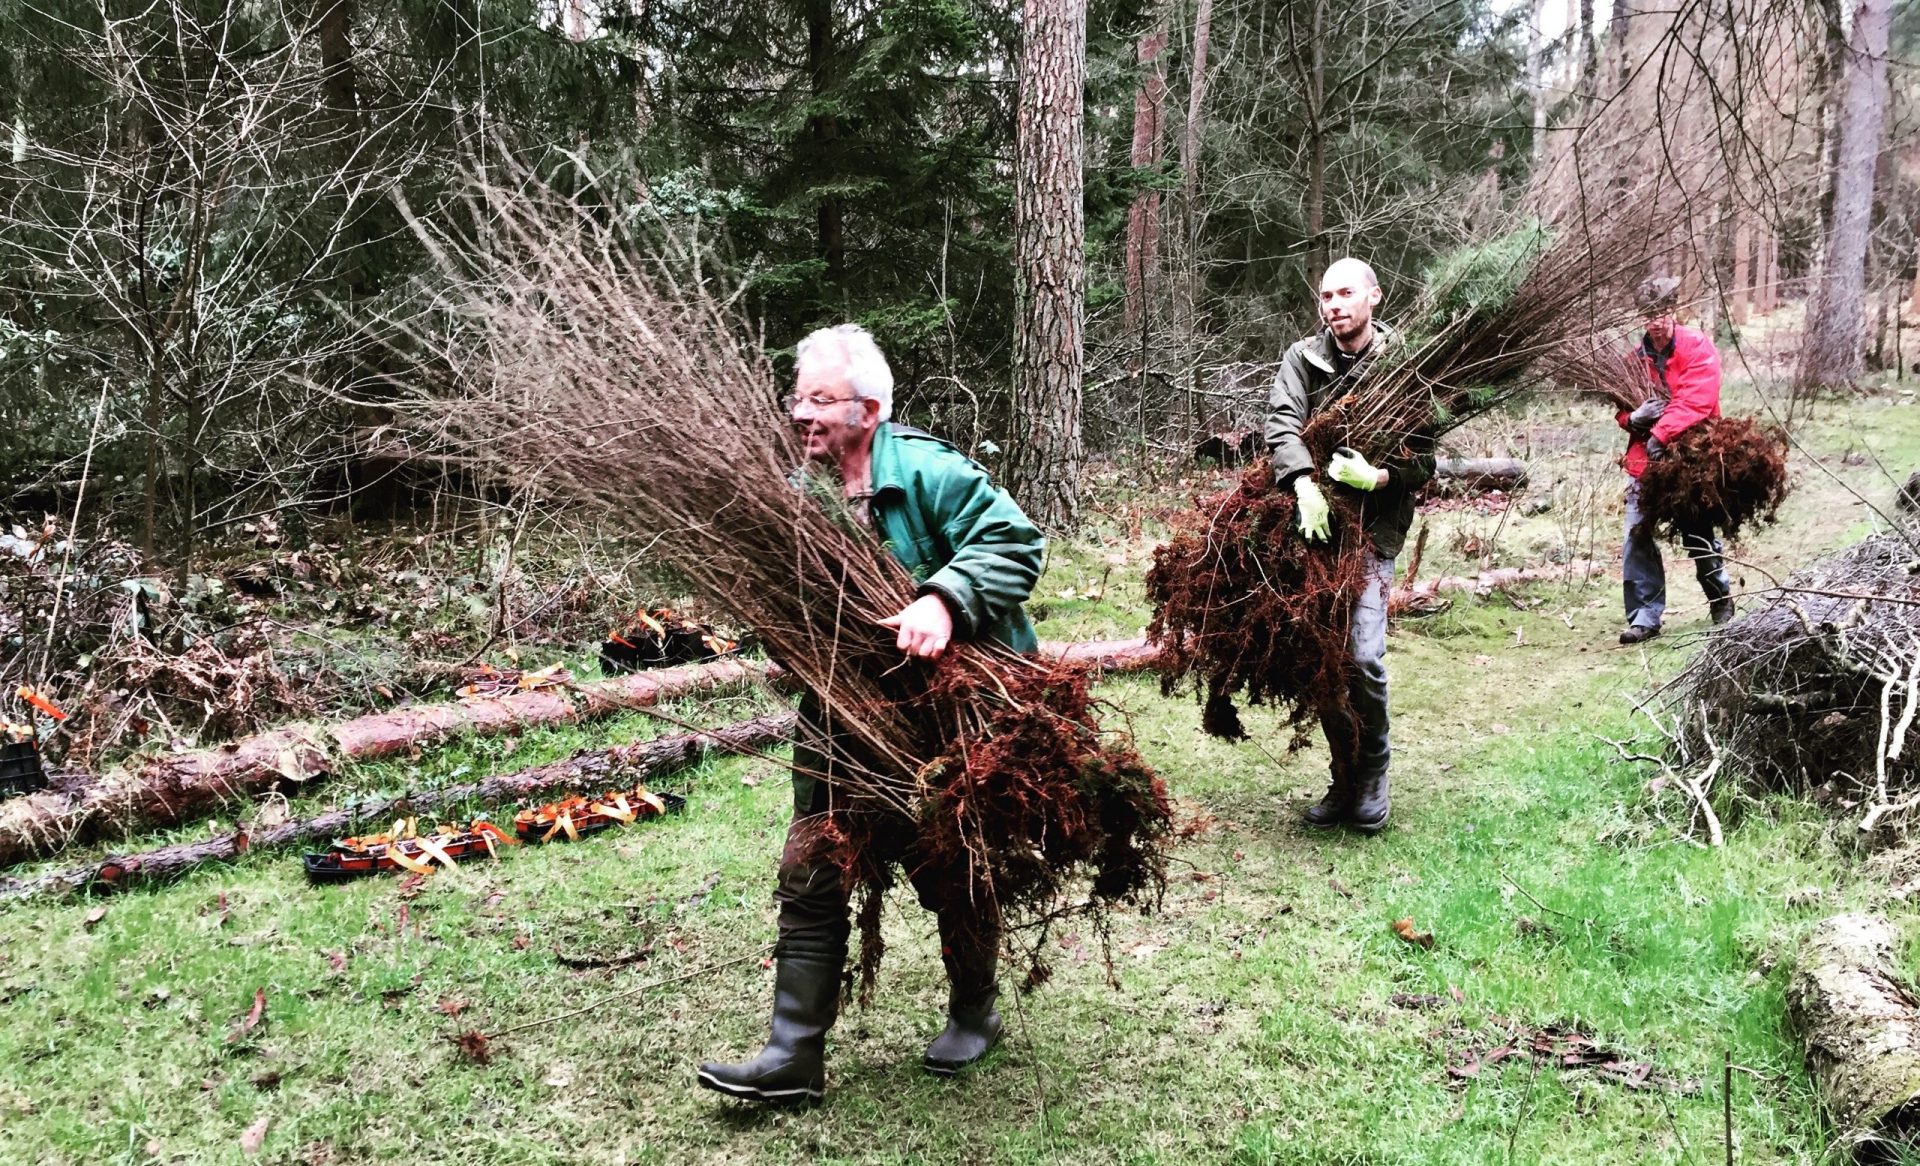
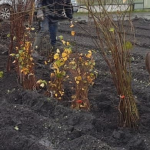
Transport to tree hubs
A Tree Hub is a collection point for surplus saplings. They are stored, cared for, and redistributed, thereby giving them a second chance Read more about Tree Hubs.
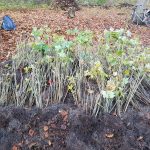
When planning your harvest day, it’s always beneficial to get in touch with a nearby Tree Hub. Any saplings not directly picked up by planting sites need a safe haven. Heeling in can be quite a task, so it’s always worth asking your volunteers if they can assist at the Tree Hub.
If your car doesn’t have a tow bar, it’s crucial to coordinate with the Tree Hub on how the harvest will be transported. If the Tree Hub doesn’t collect it, a volunteer driver must be arranged. Volunteers can indicate whether they’re willing to drive and if they have a tow bar, just as they would indicate if they have a spade. Many Tree Hubs may have their own trailers.


-web-400kb")